
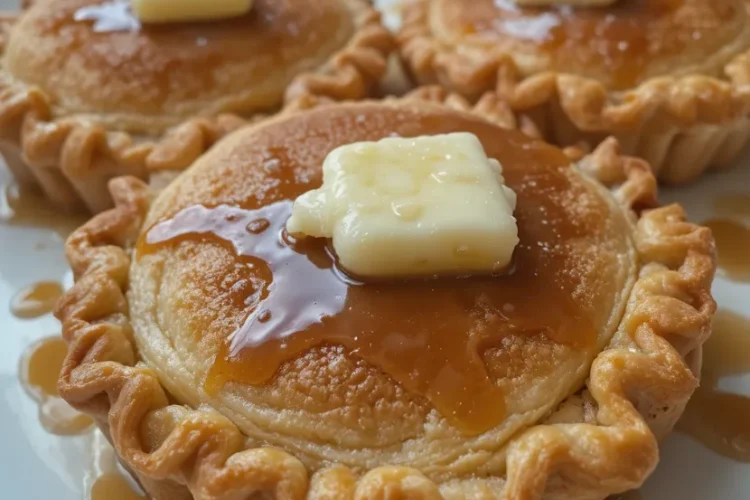
There’s something magical about that first bite of a pancake especially when it offers a symphony of textures. A fluffy, tender interior gives way to the star of the show: a crispy, golden-brown, lacy edge that shatters delightfully with every forkful. This isn’t just any pancake; this is the Crispy-Edged Pancake, a culinary masterpiece that transforms a humble breakfast staple into a gourmet experience. Forget soggy, cake-like discs. We’re on a mission to achieve the perfect, crispy circumference that will have your family begging for more. This guide will not only give you a phenomenal recipe but will also unlock the science behind that coveted crunch, making you a pancake pro. Let’s dive in and create breakfast perfection.
What You’ll Need: Ingredients for Crispy-Edged Pancake Success
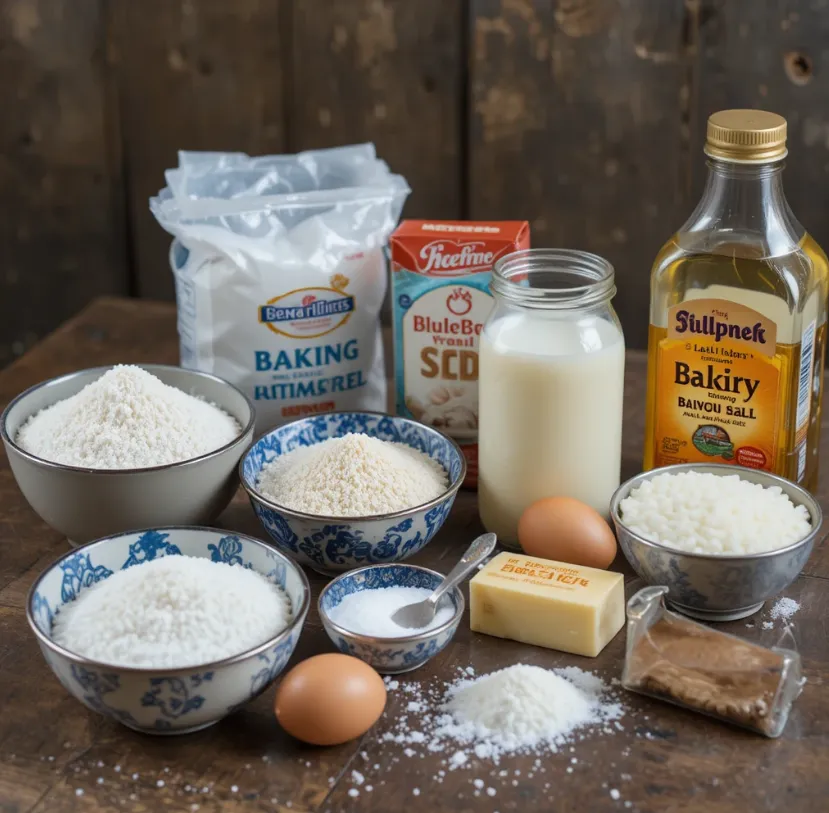
The secret to crispy edges lies in both the ingredients and the technique. This recipe uses common pantry staples but in specific ways to promote that beautiful crunch. Here’s your shopping list:
Dry Ingredients:
- 1 ½ cups (180g) all-purpose flour
- 2 tablespoons granulated sugar
- 2 teaspoons baking powder
- ½ teaspoon baking soda
- 1 teaspoon fine salt (crucial for flavor balance)
Wet Ingredients:
- 1 ¼ cups (300ml) buttermilk, shaken (see pro-tip below!)
- 1 large egg
- 3 tablespoons (45g) unsalted butter, melted and cooled slightly
- 1 teaspoon pure vanilla extract
For Cooking:
- 2-3 tablespoons vegetable oil or clarified butter (ghee) (This is the KEY for crispy edges)
- Butter and pure maple syrup, for serving
Why These Ingredients Work: Buttermilk’s acidity reacts with the baking soda, creating bubbles for a light, fluffy interior. The sugar aids in caramelization for browning. Most importantly, using oil (which has a higher smoke point than butter) for frying allows the pancake edges to get crisp without burning.
Step-by-Step: Your Roadmap to Crispy Pancake Perfection
Follow these steps carefully, and you’ll be rewarded with the most delicious, textured pancakes of your life.
Step 1: Prepare Your Batter (The “Do Not Overmix” Step)
- In a large bowl, whisk together all your dry ingredients: flour, sugar, baking powder, baking soda, and salt. This ensures the leavening agents are evenly distributed.
- In a separate bowl or large jug, whisk the wet ingredients: buttermilk, egg, melted butter, and vanilla extract until just combined.
- Make a well in the center of your dry ingredients and pour the wet mixture into it.
- Using a spatula or whisk, gently fold the batter together. Stir until the flour is just incorporated. IT IS OKAY IF THERE ARE LUMPS. Overmixing develops gluten, which leads to tough, chewy pancakes. A slightly lumpy batter is your friend.
Step 2: Let the Batter Rest (The Secret Weapon)
- Let the batter sit, untouched, for 10-15 minutes at room temperature. This allows the flour to fully hydrate, the gluten to relax (for tenderness), and the baking powder to start activating. You’ll see tiny bubbles form on the surface.
Step 3: Heat Your Pan Correctly (The Foundation of Crispiness)
- Place a large, heavy-bottomed skillet or griddle (cast iron is ideal) over medium heat. Let it get properly hot for a few minutes. To test, sprinkle a few drops of water on the surface; they should “dance” and evaporate quickly.
- Add your cooking fat. Pour in about ½ tablespoon of vegetable oil or ghee and swirl to coat the pan. You should see it shimmering but not smoking. The oil is non-negotiable for crispy edges.
Step 4: Cook to Crispy-Edged Glory
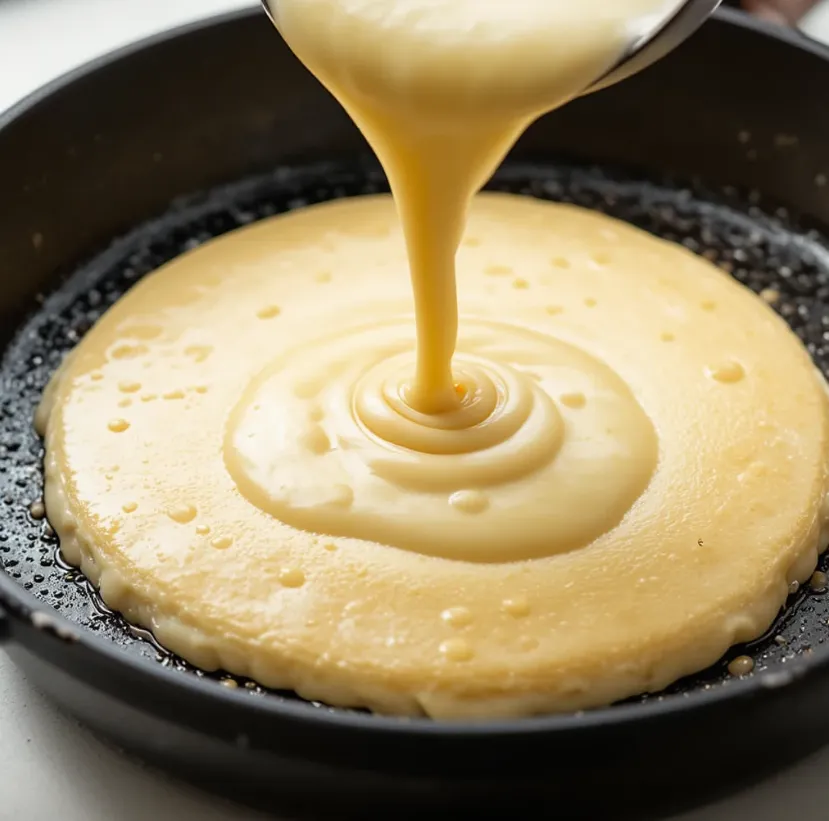
- Using a ¼ or ⅓ cup measure, ladle the batter into the hot, oiled pan. Leave enough space between pancakes for easy flipping.
- Cook until bubbles form on the surface AND the edges look dry, set, and lacy. This is critical. The outer rim will appear matte and have a slightly raised, porous look. This takes about 2-3 minutes.
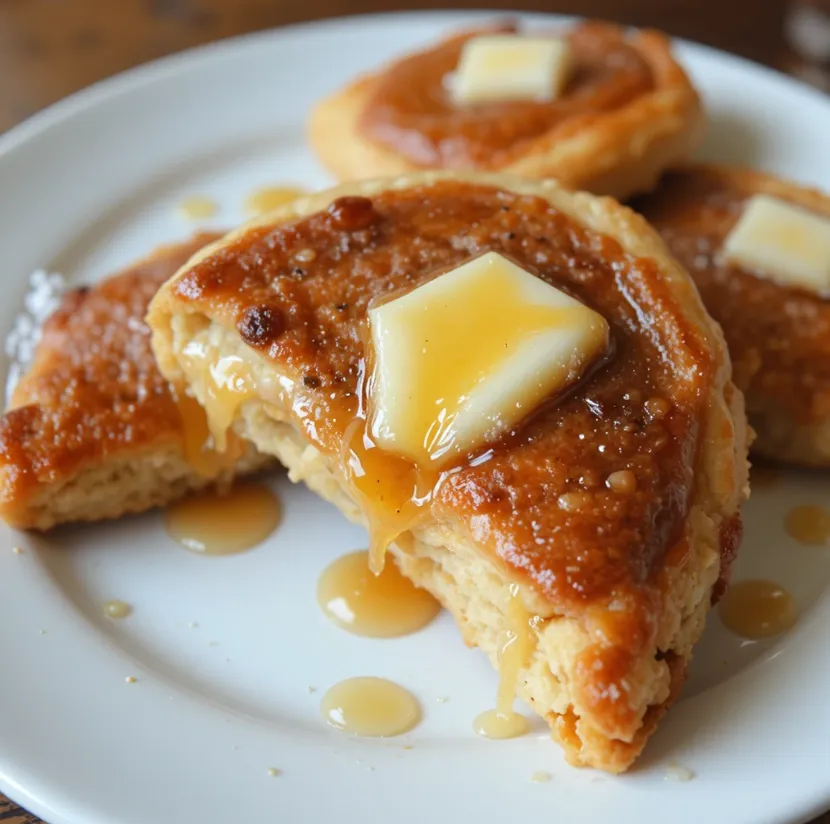
- Slide your spatula underneath and flip decisively. You should see a deep, even, golden-brown color with a distinctly crispy-looking border.
- Cook on the second side for 1-2 minutes, until golden brown. The second side will be less crispy but still beautifully cooked.
Step 5: Serve Immediately
- Transfer pancakes directly to plates. For the crispiest experience, serve them straight from the pan. If you must keep them warm, place them in a single layer on a wire rack set over a baking sheet in a low oven (200°F/95°C). Never stack them while waiting, as steam will soften those perfect edges.
Pro-Tips for Guaranteed Crispy Edges Every Time
Take your skills from good to legendary with these essential tips:
- Buttermilk Hack: No buttermilk? Make your own! For every 1 cup of milk, add 1 tablespoon of white vinegar or lemon juice. Let it sit for 5-10 minutes until it curdles. This acidity is vital.
- Fat is Your Friend: Do not skimp on the oil in the pan. Butter burns at a lower temperature, leading to dark, soft edges. Oil (or ghee) fries the edges to a crisp.
- The Right Heat: Medium heat is crucial. Too hot, and the outside burns before the inside cooks. Too low, and the pancake steams, becoming pale and soggy.
- Don’t Crowd the Pan: Giving each pancake space ensures even heat distribution and prevents steaming.
- Resist the Press: Never, ever press down on your pancakes with the spatula after flipping. You’re squeezing out the precious air that gives them fluff.
- Keep it Thin: A thinner batter will spread more in the pan, creating more surface area for crispy edges. If your batter is too thick, add a splash more buttermilk to adjust.
Conclusion: Your New Go-To Breakfast Awaits
Mastering the Crispy-Edged Pancake is a game-changer. It’s a simple technique with spectacular results, proving that attention to detail can elevate the most familiar dishes. This recipe is your foolproof blueprint from the undisturbed batter rest to the sizzle of oil in a hot pan. So, this weekend, clear your morning, gather your ingredients, and treat yourself to the undeniable joy of a pancake that’s as satisfyingly crisp as it is cloud-soft. Don’t just make pancakes; make an experience. Heat that pan, and let’s get crispy!